Novelide
News
Log in
Electronics Articles
electronics
analog-digital
pwm
arduino
Analog and PWM signals
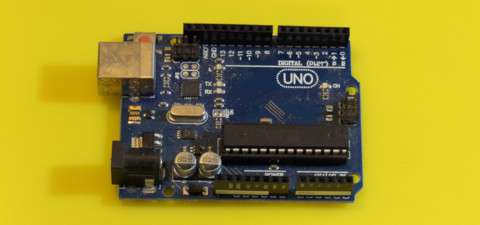
electronics
arduino
Introduction to Arduino
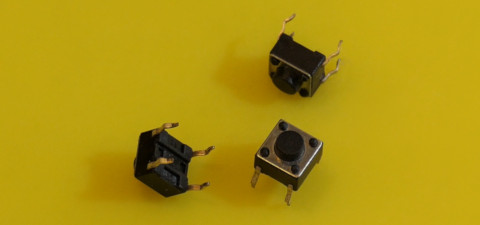
electronics
switches
Buttons and switches
electronics
communications
Communication between devices
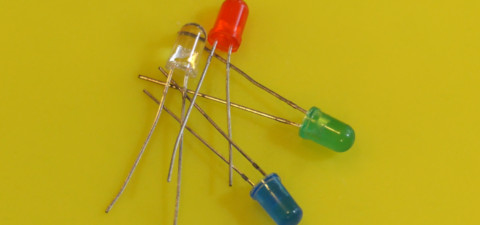
electronics
leds
Blinking an LED
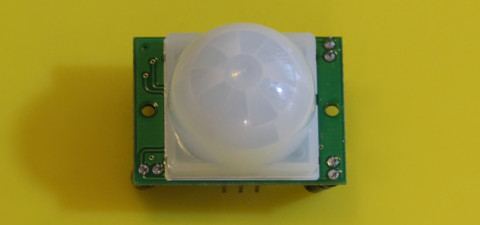
electronics
sensors
infrared
Passive infrared (PIR) motion sensors
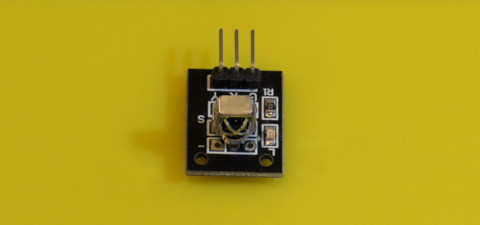
electronics
sensors
infrared
Infrared receiver modules
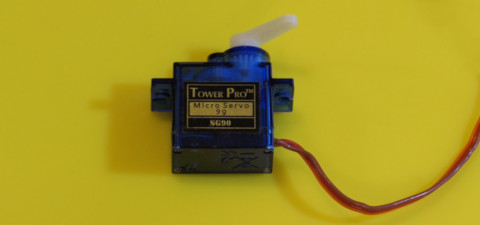
electronics
motors
Servo motors
electronics
motors
Convert a servo to continuous rotation
electronics
motors
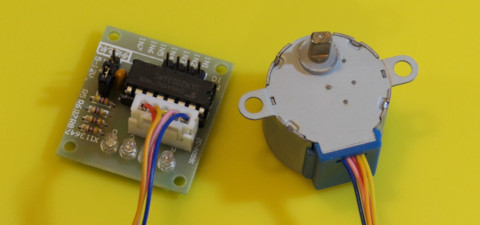
Stepper motors
electronics
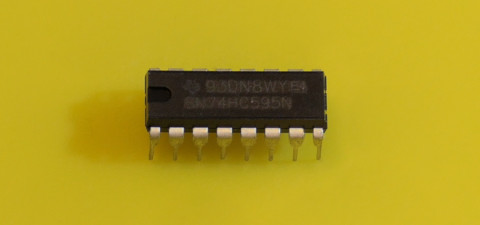
Shift registers
electronics
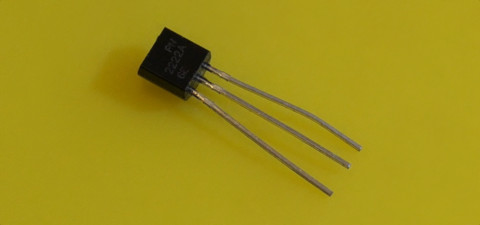
Transistors
electronics
sensors
ultrasound
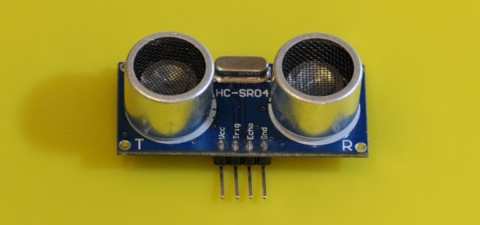
Ultrasonic distance sensors
electronics
arduino
leds
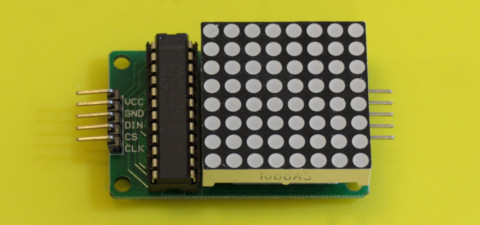
Using an LED matrix module
electronics
arduino
analog-digital
Using an analog joystick module
electronics
arduino
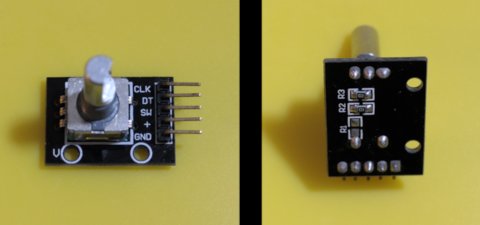
Using rotary encoders
electronics
arduino
analog-digital
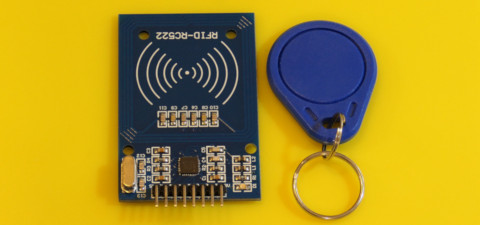
Using an RFID module
See all tags