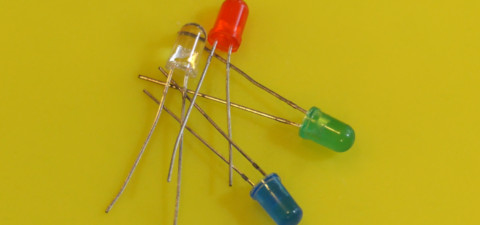
Many impressive projects involve LED light effects of some sort. At the heart of it all is the concept of turning an LED on and off in a regular pattern. Doing this is very easy!
To light an LED, all you need is a power source and a resister. We will use the Arduino itself to provide power from one of the pins. Turning this pin on and off (changing the voltage state from from HIGH to LOW) will cause the LED to blink.
As for the resistor, you have a lot of leeway. Using a lower resistor value results in brighter light. The lowest safe resistance for common off-the-shelf LEDs is usually 220 to 330 ohms, which produces the brightest light without damaging the LED or the Arduino.
The following code snippet will make the LED change state every 100 milliseconds, so it will blink with 5 full cycles per second.
// Set to the pin your circuit uses.
const int ledPin = 2;

void setup()
{
	// nothing to set up
}

void loop()
{
	digitalWrite(ledPin, HIGH);
	delay(100);
	digitalWrite(ledPin, LOW);
	delay(100);
}
The above code assumes you have connected your LED to pin 2 on the Arduino. You can use a different pin, by changing the ledPin = 2 to the appropriate value.
Each call to delay(100) makes the Arduino pause for 100 milliseconds. Changing this number will make the LED blink faster or slower.
Blinking faster
Blinking the LED extremely rapidly (thousands of times per second) is the basic idea behind an LED dimmer. However, at this rate it becomes impractical to use the delay() function to control the LED. If the microcontroller you're using implements pulse-width modulation (PWM) functionality, that would be the ideal way to blink at such high rates. Otherwise, Arduino's micros() function in a tight loop can can also cycle the LED at several kHz with reasonable precision.
Multiple LEDs
It is safe to power more than one LED using the Arduino board, but each LED should use a separate pin if you plan to enable more than one LED at the same time. For projects needing LEDs drawing more than 100-200 mA of current, you should use a separate power source to avoid damaging the Arduino.
