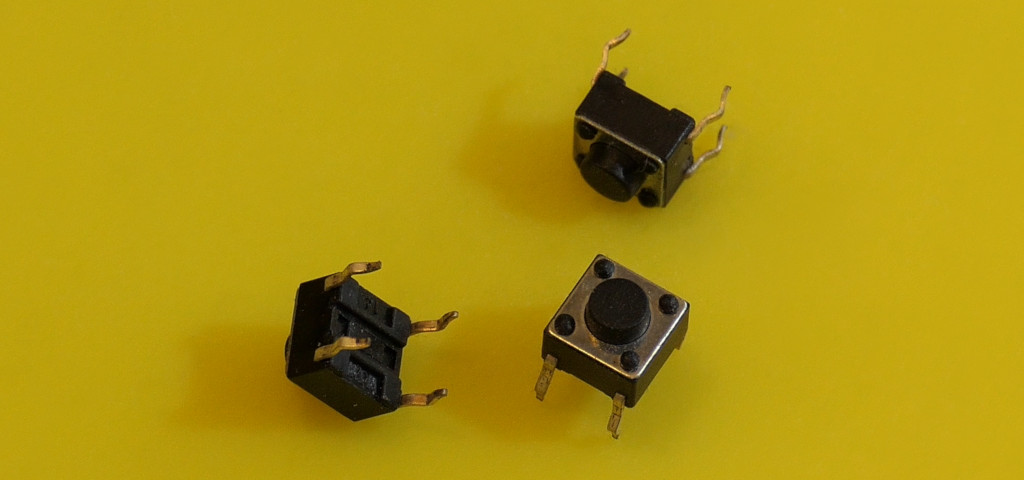
Many projects include physical buttons or switches of some kind. A button's contacts connect two points when pressed. To turn that into a dependable digital reading, the input needs a defined state both when the contacts are open and when they are closed.
Wire it with a pull-up
| Connection | Destination or purpose |
|---|---|
| D2 | One side of the switch. |
| GND | The other side of the switch. |
The sketch enables the Uno’s internal pull-up resistor. With the button released, it reads HIGH. Pressing connects D2 to ground, so it reads LOW. No external pull-up resistor is needed for this short breadboard circuit.
Four-legged tactile buttons usually have two pairs that are already joined internally. Check with a continuity meter, or consult the part drawing, and use contacts that connect only when pressed. Place the button across the breadboard trench if its lead arrangement supports that.
One press, one change
Download the complete Arduino sketch
const byte buttonPin = 2;
const byte ledPin = LED_BUILTIN;
const unsigned long debounceMs = 30;
int lastReading = HIGH;
int stableState = HIGH;
unsigned long changedAt = 0;
bool ledState = false;

void setup() {
  pinMode(buttonPin, INPUT_PULLUP);
  pinMode(ledPin, OUTPUT);
  digitalWrite(ledPin, LOW);
  Serial.begin(9600);
}

void loop() {
  const int reading = digitalRead(buttonPin);
  const unsigned long now = millis();
  if (reading != lastReading) changedAt = now;
  if (now - changedAt >= debounceMs && reading != stableState) {
    stableState = reading;
    if (stableState == LOW) {
      ledState = !ledState;
      digitalWrite(ledPin, ledState ? HIGH : LOW);
      Serial.println(ledState ? "On" : "Off");
    }
  }
  lastReading = reading;
}
Open Serial Monitor at 9600 baud. Each press toggles the built-in LED and prints one new state. Holding the button down should not keep toggling it. Releasing it prepares the next press.
Why debouncing matters
Real contacts can bounce between open and closed for a short time. The code remembers the last raw reading and restarts a timer whenever that reading changes. Only a state that remains unchanged for 30 ms becomes the stable state.
The action happens on the stable transition to LOW. It does not happen on every loop iteration or on release. This distinction is essential for counters, acknowledgement buttons, and menus. The timer uses unsigned arithmetic so its elapsed-time comparison survives millis() wrapping.
Troubleshooting
- Always pressed: the two selected switch legs may already be connected, or both wires may share one breadboard strip.
- Random input: check the ground connection and confirm
INPUT_PULLUPis present. - Extra counts: increase the debounce interval modestly and inspect loose wiring. Very long wires may need additional filtering and protection.
- Missed quick taps: a tap shorter than the debounce interval is intentionally ignored. Reduce the interval only after observing the switch behavior.
Put it to work
Replace the toggle with a press counter, or acknowledge an alert while retaining the underlying sensor state. Never make an acknowledgement button erase the fact that a leak or open door still exists. Continue with button-controlled servo movement. Arduino’s pull-up input example explains the same active-low wiring convention.